Wednesday, October 16, 2013

A DIY tutorial on custom BNC wires

A DIY tutorial on custom BNC wires 


 Here are the supplies you'll need for this project:


 1/4" ID spring (I found this in my stash of electronics so your going to have to work to find this one!)

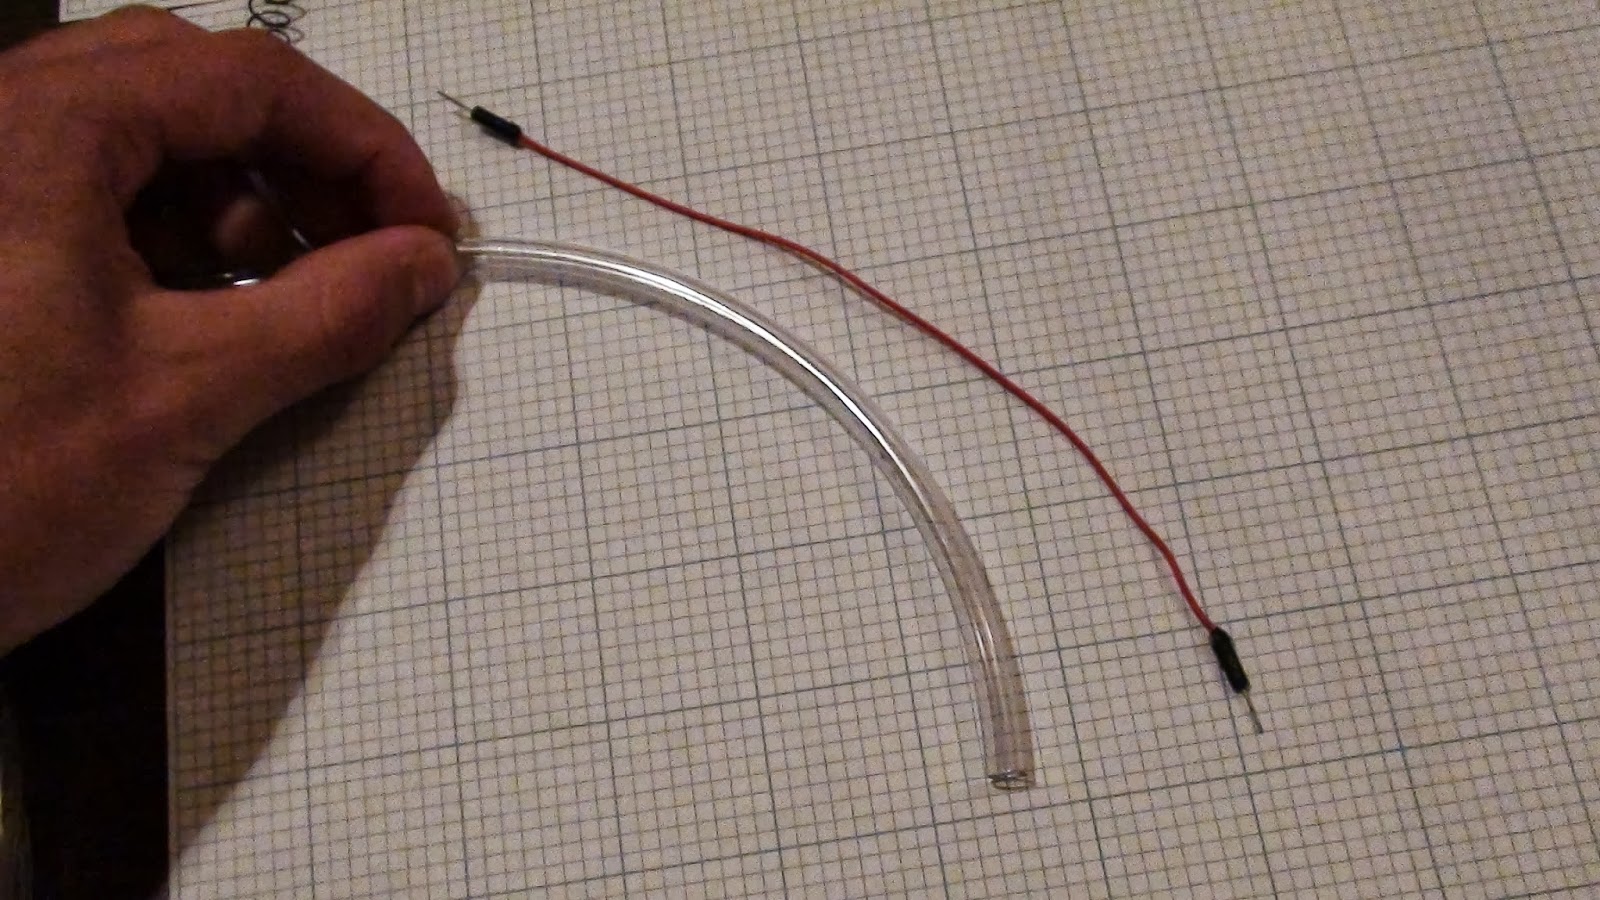
 6-8 inch male to male breadboard wire (can be found on ebay or electronic goldmine)
 Standard BNC terminator (can also be found at Home Depot)
 1/4" OD plastic tubing (can be found at Home Depot)
 I'm going to start by cutting my tubing slightly shorter then the breadboard wire.
 I will then cut slits in the tubing about a half inch apart and about half the way through the tubing. This will allow the tube to bend easily.
 Take the breadboard wire and straighten it so it will slip easily into the BNC terminator.
 It will require very little force, and you can feel it slide into the connector. You can get a compression tool to fix it there but I didn't worry about it.
 Slip the plastic tubing over the wire, and into the BNC compression end.

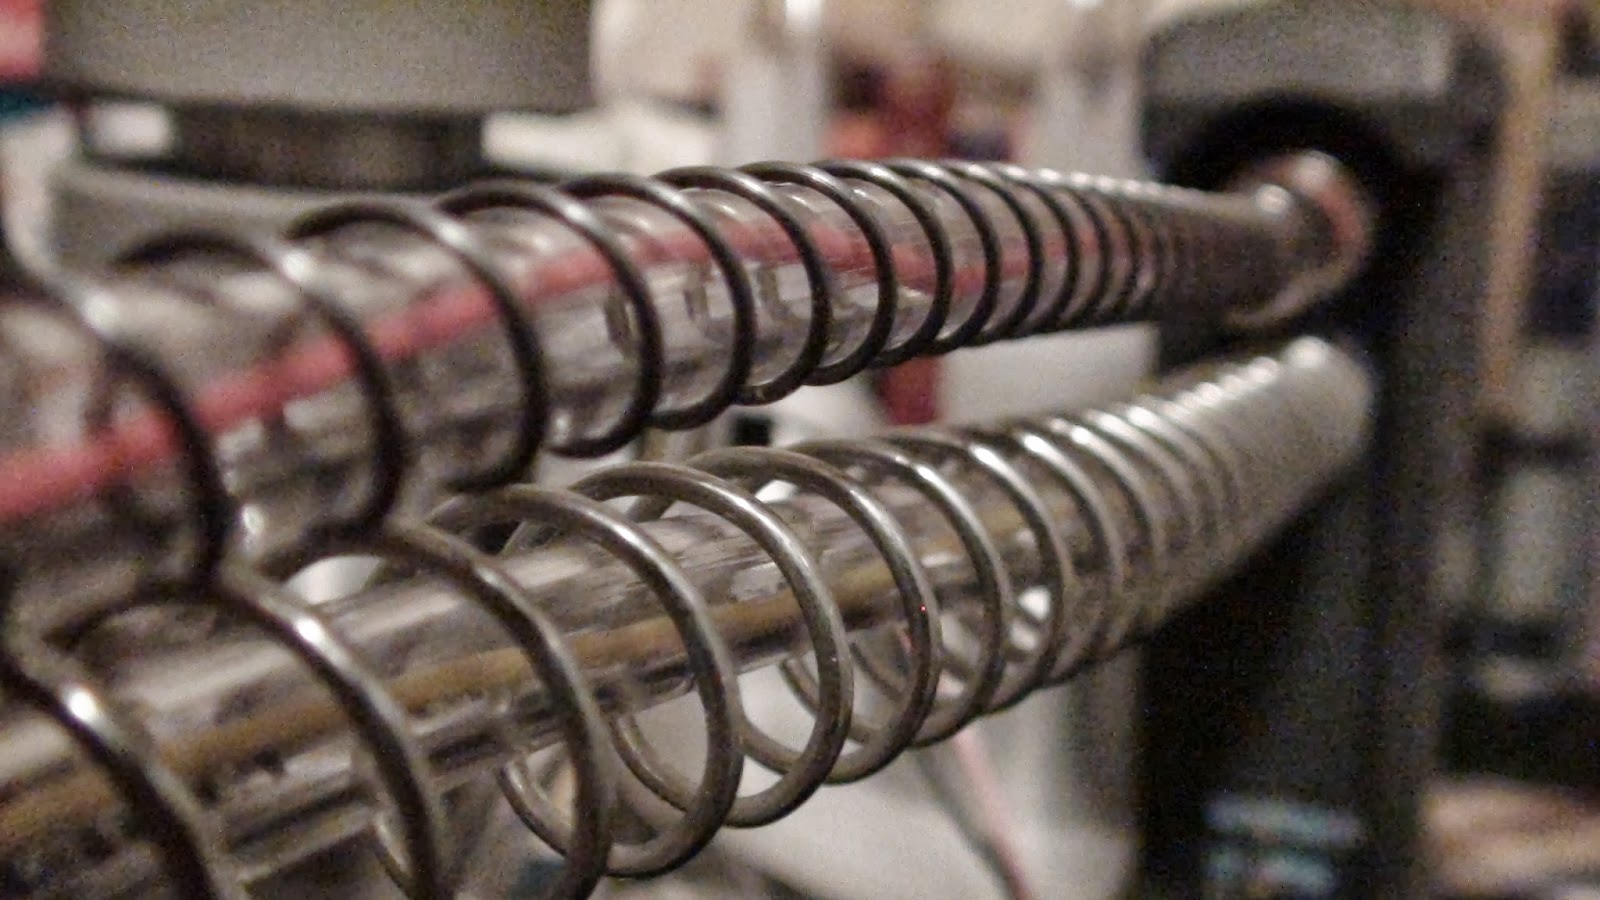
 Now slip the spring over the tubing as seen here.

This provides for a protected from the environment and it is quite awesome! I use this to connect to my digital oscilloscope interface all the time!

Related Posts:

  • New websiteCheck out my most recent project. www.usingdoterra.com. I programmed this completely from scratch with a little help from the guys at foundation.zurb.com… Read More
  • Websites I've been programming a site recently using several languages including: HTML, CSS, AJAX, JAVASCRIPT, and JQuery. I did this one completely from scratch. It's based of the flat UI look. All page transitions are smooth slide… Read More
  • DIY Desktop Computer Part 3 - Motherboard, PSU and Graphics card Got the parts yesterday and put everything in the case so far. Sleeved cables are a must have! They really add character! NZXT Case  Bit Fenix PSU  NZXT mounting plate applied to the PSU  ASRock Mob… Read More
  • DIY Custom Desktop Computer - Part 1 (Parts List)Finally started my desktop, I've been hoping to do this for a long time and finally got around to building a budget for it.The components are as following: Ordered Items: ($99) Motherboard -  ASRock Fatal1ty H97 &nb… Read More
  • DIY Desktop Computer Part 2 - Motherboard Mod CoverWhile waiting for my shipments to arrive today, I cut out a plexi-glass sheet that I can cut a design into and add some character to the computer. It will be held off the board by standoffs. I sized the plexi-glass board… Read More

0 comments:

Post a Comment