Thursday, February 6, 2014

Websites

I've been programming a site recently using several languages including: HTML, CSS, AJAX, JAVASCRIPT, and JQuery. I did this one completely from scratch. It's based of the flat UI look. All page transitions are smooth slides managed by JQuery. This is the child to my older site below:
I'm still working on filling the content and getting good functionality. Good luck... to myself!

Thursday, January 30, 2014

Aperture Photography

Check out my new photography blog, Aperture Photography at: aperphoto.blogspot.com

Friday, January 10, 2014

New Blog

Check out my new photography blog, Aperture Photography at: aperphoto.blogspot.com

Tuesday, December 3, 2013

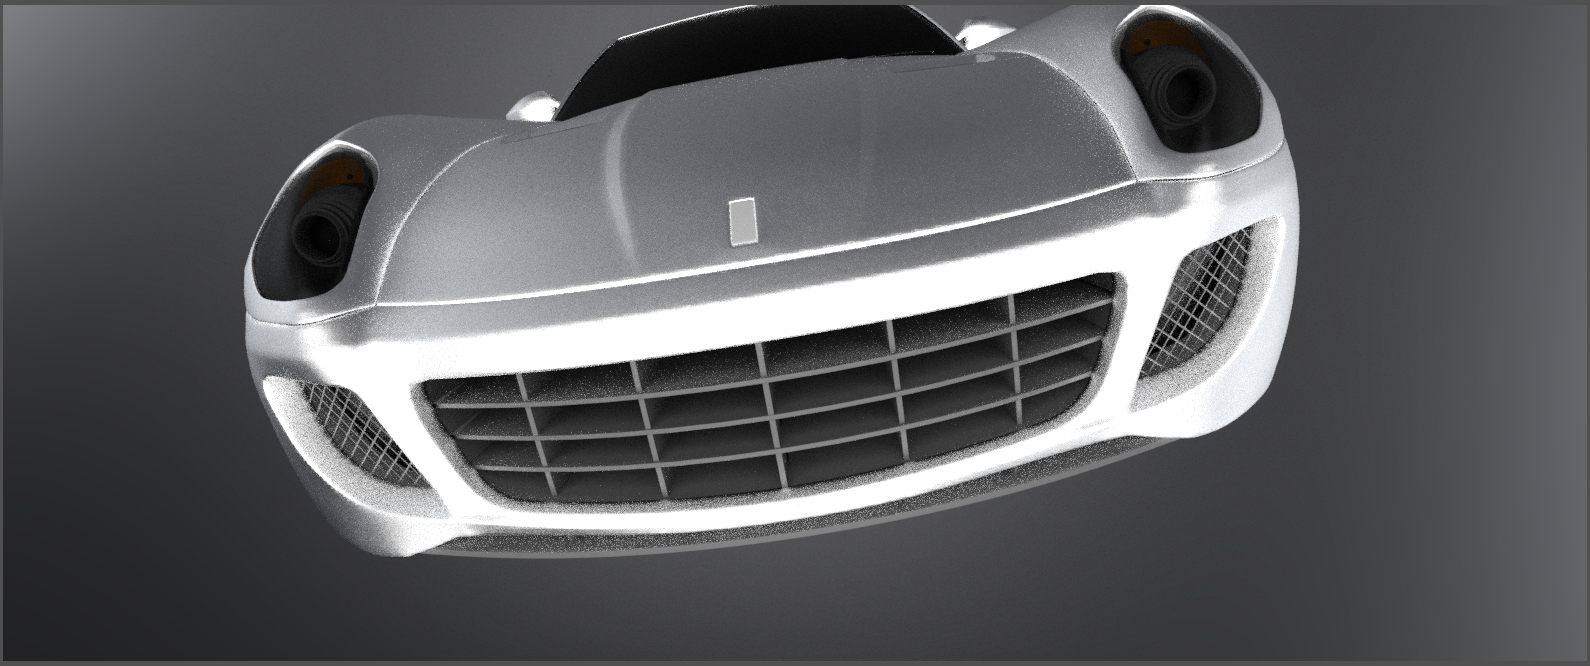
3D Renderings with Autodesk VRED

I tested out the Autodesk VRED software for students this week and its awesome! I did a few renderings of cars that turned out sorta nice but hey... with 20 minutes of experience, that pretty good!


Wednesday, October 30, 2013

Blackmagic DaVinci Resolve

A intro I made on how i do my grading in Blackmagic DaVinci Resolve.

Unable to display content. Adobe Flash is required.

Monday, October 21, 2013

Nitrous Oxide Production

I am currently designing a device that makes racing nitro. For anybody that plays racing games, this is probably familiar. It is one of the fuels this engine is designed to burn. From the diagram, you can see that it heats ammonium nitrate to create water vapor and N20. I can get ammonium nitrate for about $.15 a gram, which is great compared to $200-300 per bottle of N20. More details to come.

Kickstarter


Yay! Our kickstarter project is going live this week! We have project descriptions, and other information about this project now available to the general public. The link to the project will be posted when the kickstarter goes live!

~Clark McCauley

Wednesday, October 16, 2013

A DIY tutorial on custom BNC wires

A DIY tutorial on custom BNC wires 


 Here are the supplies you'll need for this project:


 1/4" ID spring (I found this in my stash of electronics so your going to have to work to find this one!)

 6-8 inch male to male breadboard wire (can be found on ebay or electronic goldmine)
 Standard BNC terminator (can also be found at Home Depot)
 1/4" OD plastic tubing (can be found at Home Depot)
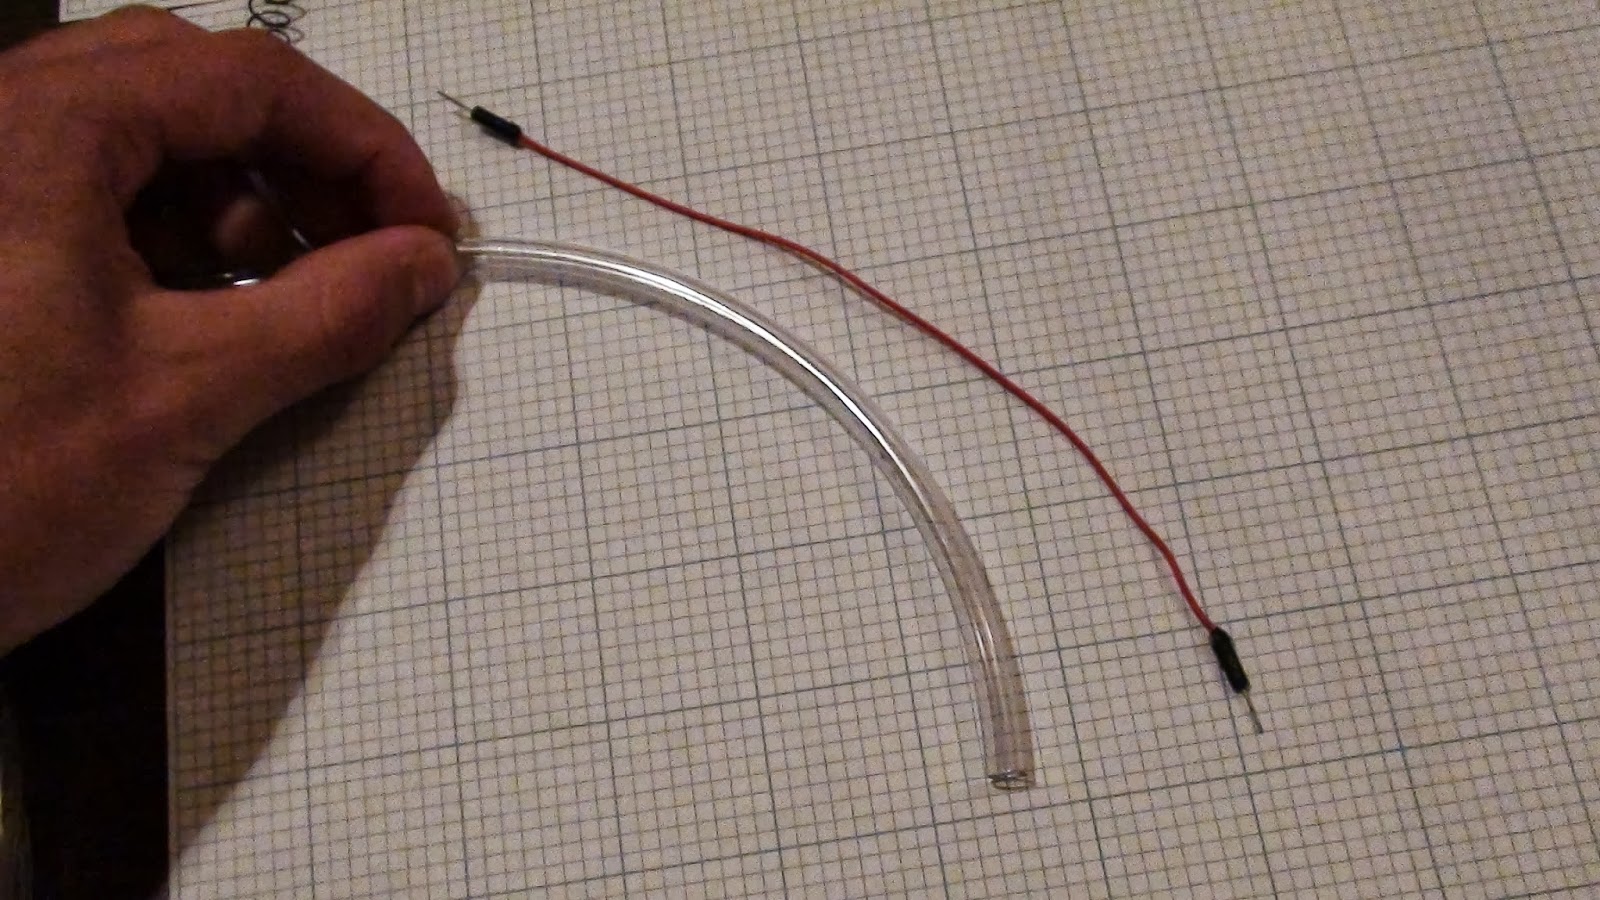
 I'm going to start by cutting my tubing slightly shorter then the breadboard wire.
 I will then cut slits in the tubing about a half inch apart and about half the way through the tubing. This will allow the tube to bend easily.
 Take the breadboard wire and straighten it so it will slip easily into the BNC terminator.
 It will require very little force, and you can feel it slide into the connector. You can get a compression tool to fix it there but I didn't worry about it.
 Slip the plastic tubing over the wire, and into the BNC compression end.

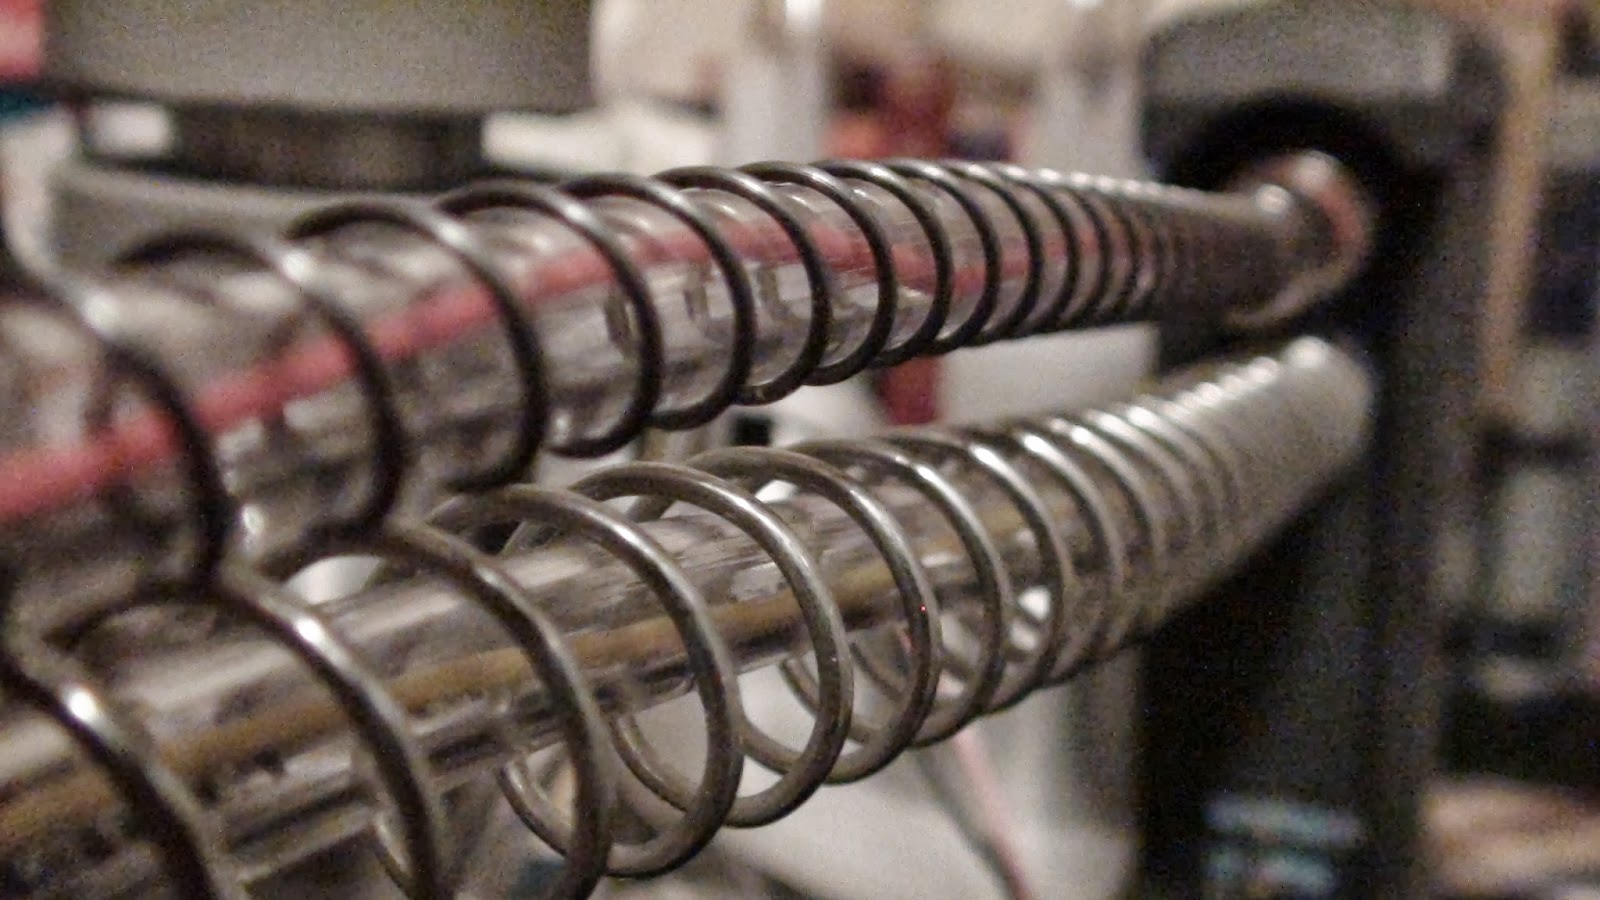
 Now slip the spring over the tubing as seen here.

This provides for a protected from the environment and it is quite awesome! I use this to connect to my digital oscilloscope interface all the time!

Update - Hybrid Rocket Engine: Motor controller and servo mounting

I've designed a mounting plate system (which uses parts available from home depot as usual!) that allows for a cleaner setup and mounting away from the flame output nozzle. It uses Plexiglas main plates that screw right on to the main chassis. If I can get my budget coordinated, I should be able to build this portion in the next 2-3 weeks.

Monday, October 14, 2013

Update - Hybrid Rocket Engine

 Just a few updates have been made to the engine. They mostly enhance the automation of the system.
 I built some custom BNC cables that allow me to transfer custom built sensors to a digital oscilloscope interface.
 The custom cables link down to the main data transfer breadboard, where everything eventually meets and connects.
I bought some BNC connectors from Home Depot and wired a pinnned cable into it and covered it with some acrylic tubing. Very Simple!

Wednesday, October 9, 2013

Old Electron Guns

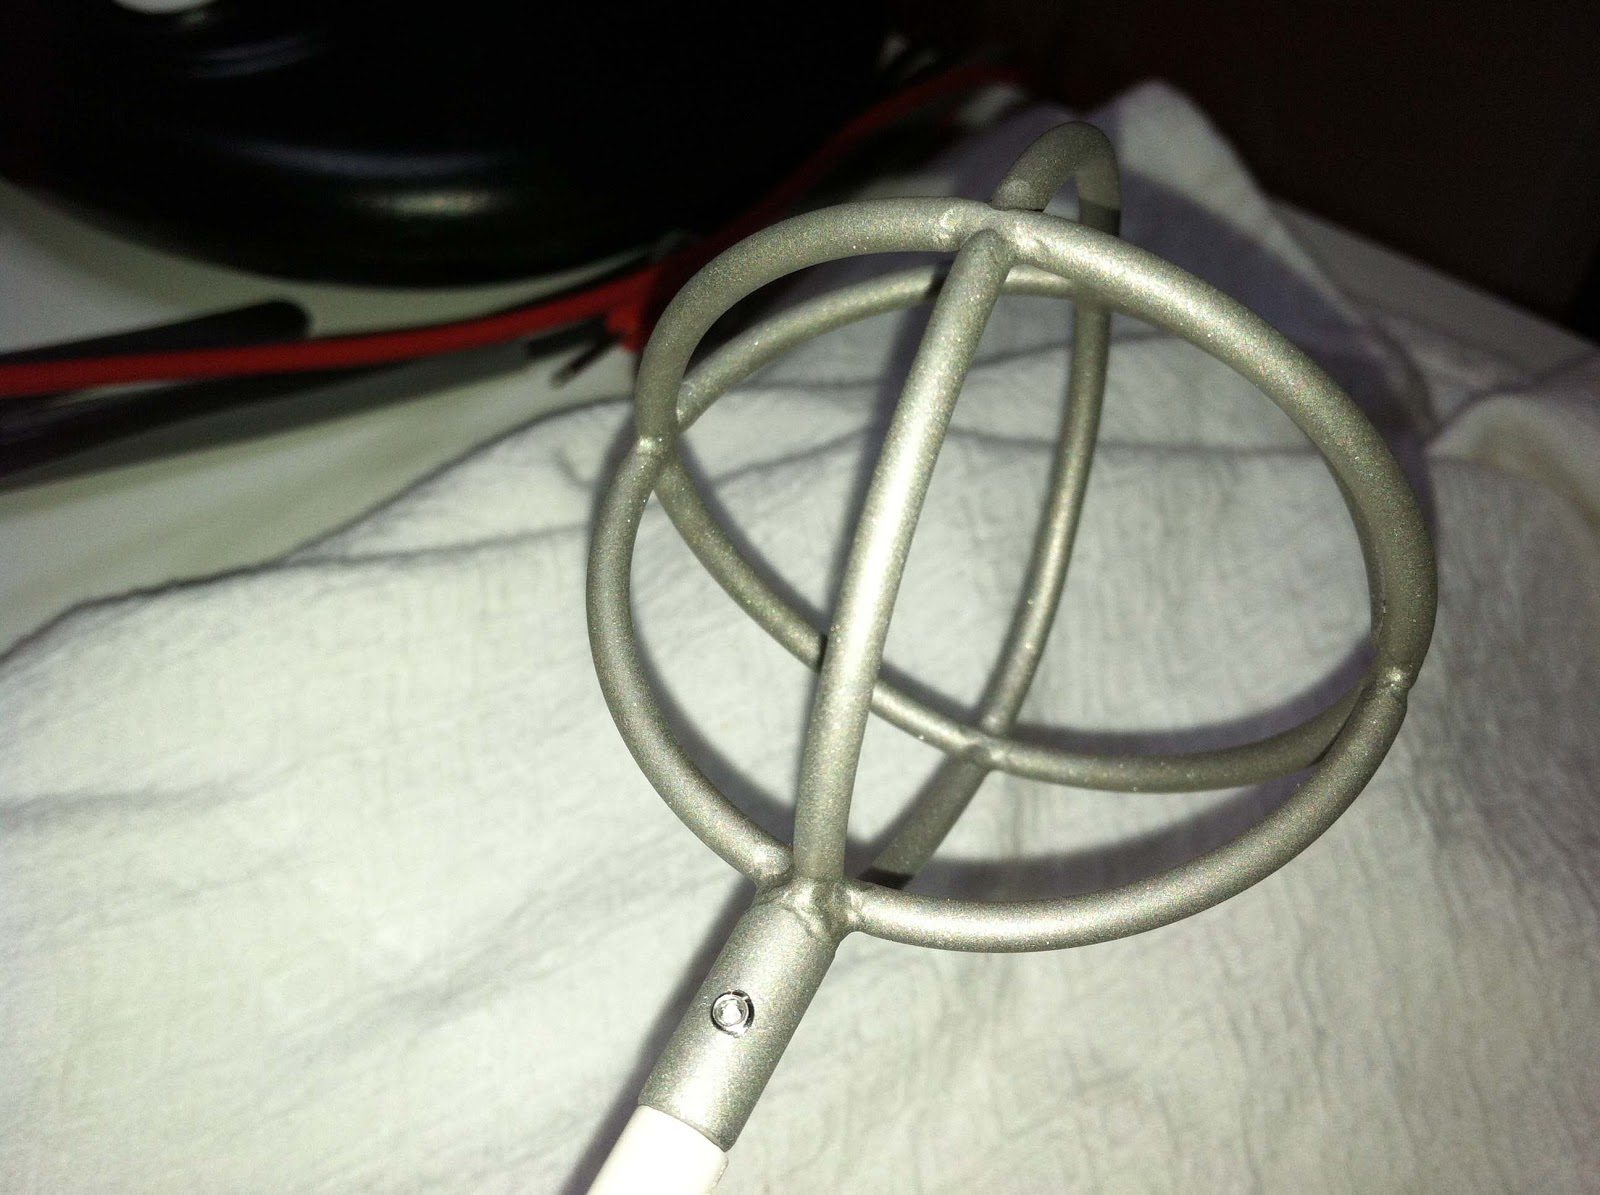
Here are some old designs I made about a year and a half ago. Inside there is a filament, and an accelerator grid. All the wires come out and move to the back to be hooked to a psu.


Hybrid Rocket Engine

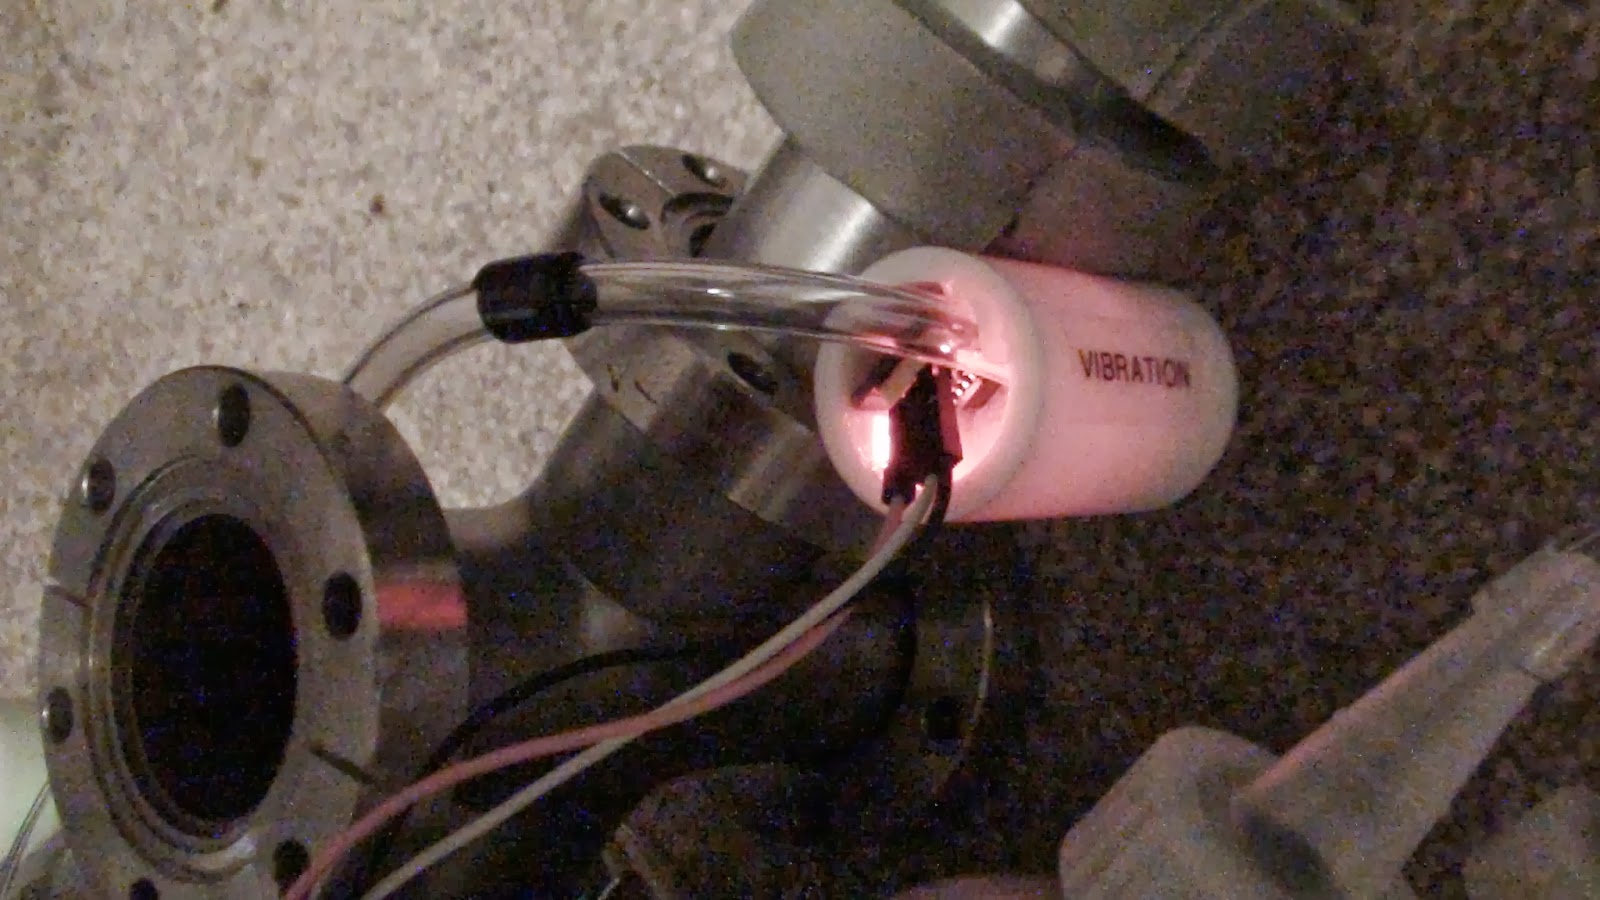
I have recently been putting together a semi-autonomous hybrid rocket engine, this is a prototype edition, complete with plexi-glass mounting plates. It is run by an Arduino Mega 2560. It has three sensors, an accelerometer, a gyro, and a vibration sensor, all of which are protected and covered (see pictures). It burns a propane flame, mixed with a pvc solid fuel, and pure oxygen gas that is produced with a chemical reaction on the engine itself (see three silver chambers). Please comment!


Wednesday, September 11, 2013

Peach breader

My current project is a peach breeder. It sounds funny doesn't it! It is! It works by stimulating the growth of the cells in peaches particularly, through laser ray light radiation, or L.R.L.R. I am using a color sensor to determine the current state of growth in the peach by measuring the color, and a light sensor to measure the intensity of the laser at any given time. Both sensors are mounted on computer controlled arms that remove the sensors from the peach after measuring has been completed. The peach rotates and is exposed to light radiation for a given period of time. Accepting comments. Take care!

~Clark McCauley

Wednesday, November 7, 2012

Tuesday, November 6, 2012

Monday, November 5, 2012

Parts of the chamber

In a chamber, there must be a few parts in order for the fusor to work:
  1. High voltage feedthrough
  2. Viewport
  3. Grid

High voltage feedthrough

The hv feedthrough is what allows us to insert hv electricity into the chamber without disturbing the vacuum system. These parts can get very expensive, up to $1000 starting at about $100. Currently, I am using a automotive spark plug as my feedthrough because they are very cheap and require only a little bit of machining.


Viewport

 Viewports allow the spectator to view what is going on inside the fusor. In real fusors at higher voltages, these can be very dangerous because x-rays are released through them.

Grid

The grid is what is wired to the hv feedthrough attracts the air molecules it which are then ionized.

-Not my grid-

The theory

A demo fusor requires a few basic parts:
  1. Vacuum system
  2. High voltage
  3. Chamber

The Vacuum system

A vacuum must be used to remove most of the air inside the chamber. The remaining air particles are ionized by the demo fusor system. Vacuum systems tend to become expensive so its important to keep your eye out on eBay. There are two main different types of vacuum pumping methods:
  1. Mechanical pump
  2. Diffusion pump

Mechanical pump

A mechanical pump is also called a roughing pump because it removes most of the air inside of the chamber before the diffusion pump kicks on. A really good mechanical pump can take the pressure down to < 5 microns.

Diffusion pump

A diffusion pump is normally not used in a demo fusor because it can take the pressures down a lot lower and there must be remaining air molecules to ionize. The animation below demonstrates the process of a diffusion pump.
http://www.edwardsvacuum.com/uploadedFiles/Resource/Corporate/About_Us/diffusion_pump.swf


The High voltage system

A very high voltage is needed to attract the air molecules to the grid, usually about -1,000 to -10,000 volts aka. -1kv to -10kv (kilo volt). The grid is at the center of the fusor and is wired to a negatively biased power source. We will get into more details later. 
 

The Chamber 

The vacuum chamber is a vary expensive part of the fusor unless you build your own ( go to http://rtftechnologies.org/physics/fusor-mark3-hemisphere.htm for more info), in which case it is still very expensive but not the same as a manufactured one. They are usually made of stainless steel 304 although some demo fusors can be made out of bell jars. They must be vacuum tight.


-Not my fusor-

Designing a demo fusor

Welcome,
This section of my blog will introduce you to the demo fusor. A demo fusor is a device that looks as if its doing fusion but is actually ionizing the residual air molecules. 

As Richard Hull from fusor.net puts it, "The demo LOOKS and OPERATES just like a real fusor. With no deuterium, it can't do any fusion. What it does is that it takes residual air molecules remaining in the demo fusor, which never has a secondary pump, and ionizes the various atmospheric gases. These ions and electrons look like and act like a real fusor to the eye and it also operationally mimes how a real fusor needs to be run. 


Isn't the effect beautiful! 

A real fusor requires a special gas called deuterium which, right now, is very hard to acquire.

In the next few posts, you'll learn how to build a basic demo fusor and where to get thee parts. Good luck!