A intro I made on how i do my grading in Blackmagic DaVinci Resolve.
Wednesday, October 30, 2013
Monday, October 21, 2013
Nitrous Oxide Production
I am currently designing a device that makes racing nitro. For anybody that plays racing games, this is probably familiar. It is one of the fuels this engine is designed to burn. From the diagram, you can see that it heats ammonium nitrate to create water vapor and N20. I can get ammonium nitrate for about $.15 a gram, which is great compared to $200-300 per bottle of N20. More details to come.


Kickstarter
~Clark McCauley
Wednesday, October 16, 2013
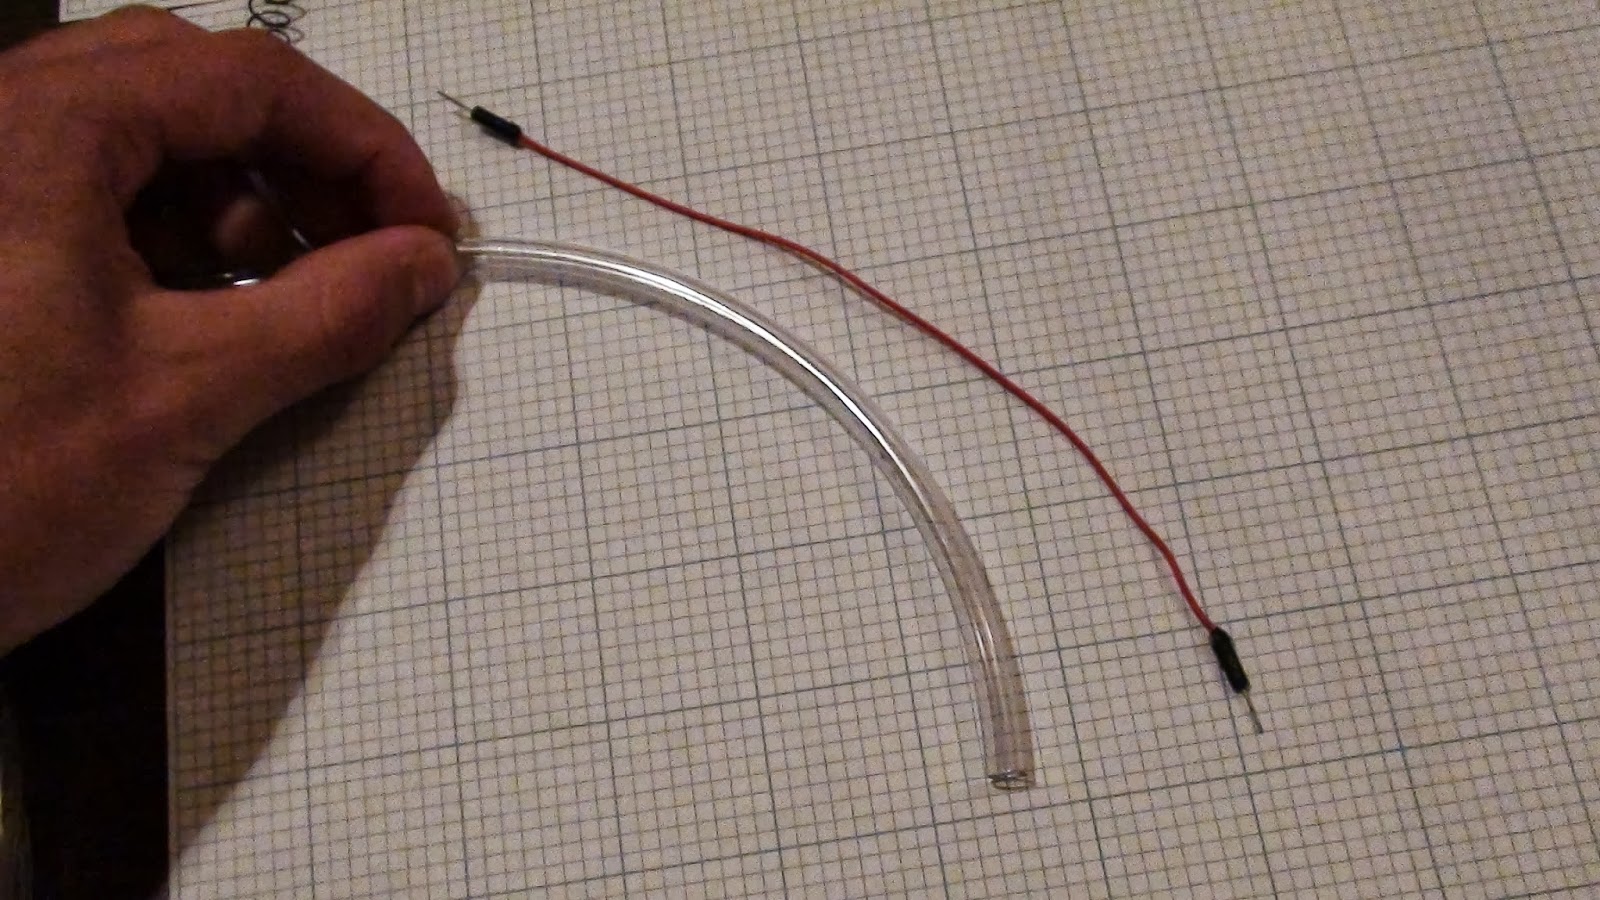
A DIY tutorial on custom BNC wires
A DIY tutorial on custom BNC wires

Here are the supplies you'll need for this project:


Update - Hybrid Rocket Engine: Motor controller and servo mounting

I've designed a mounting plate system (which uses parts available from home depot as usual!) that allows for a cleaner setup and mounting away from the flame output nozzle. It uses Plexiglas main plates that screw right on to the main chassis. If I can get my budget coordinated, I should be able to build this portion in the next 2-3 weeks.

Monday, October 14, 2013
Update - Hybrid Rocket Engine, Motor Controller


Update - Hybrid Rocket Engine


Wednesday, October 9, 2013
Old Electron Guns
Here are some old designs I made about a year and a half ago. Inside there is a filament, and an accelerator grid. All the wires come out and move to the back to be hooked to a psu.


Hybrid Rocket Engine
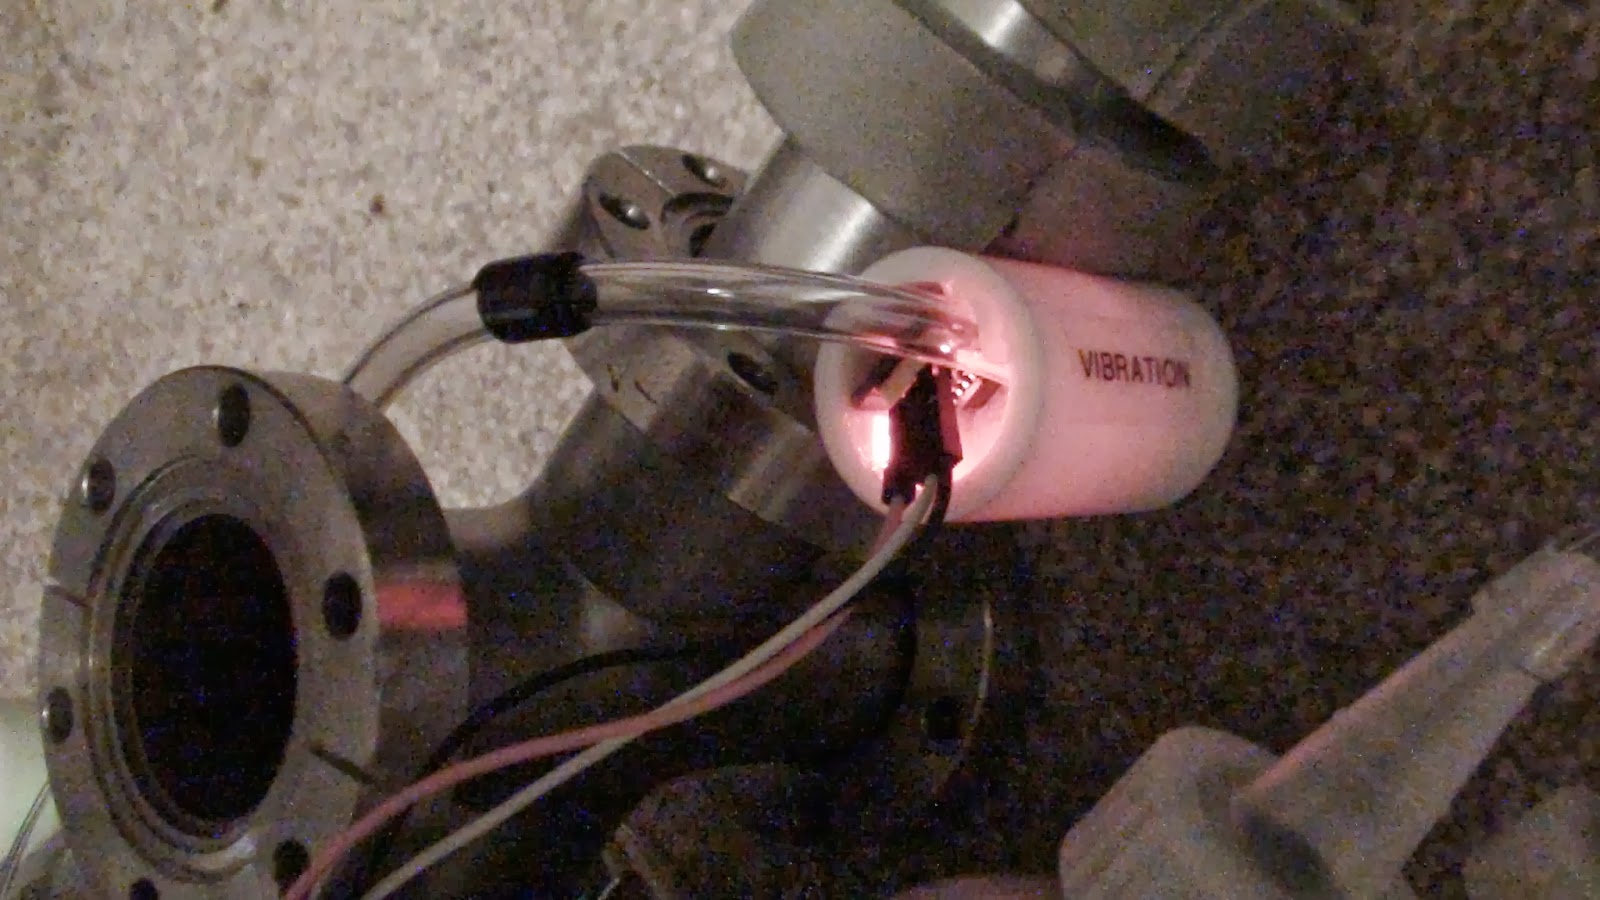
I have recently been putting together a semi-autonomous hybrid rocket engine, this is a prototype edition, complete with plexi-glass mounting plates. It is run by an Arduino Mega 2560. It has three sensors, an accelerometer, a gyro, and a vibration sensor, all of which are protected and covered (see pictures). It burns a propane flame, mixed with a pvc solid fuel, and pure oxygen gas that is produced with a chemical reaction on the engine itself (see three silver chambers). Please comment!